Jfyi, this post may contain affiliate links, because I’m a real-life person with bills to pay. 🙃
Say hello to my Healthier Chocolate Caramel Nut Bars inspired by a particular store-bought chocolate bar, but without the refined sugars and processed stuff inside. This is such an indulgent treat where you get chewy, crunchy, and gooey caramel goodness in every bite.
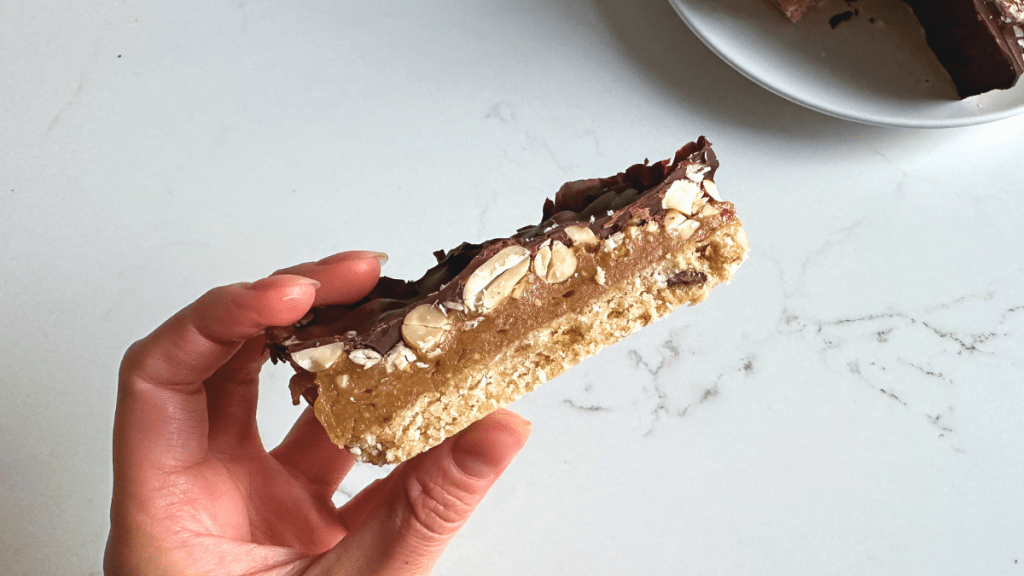
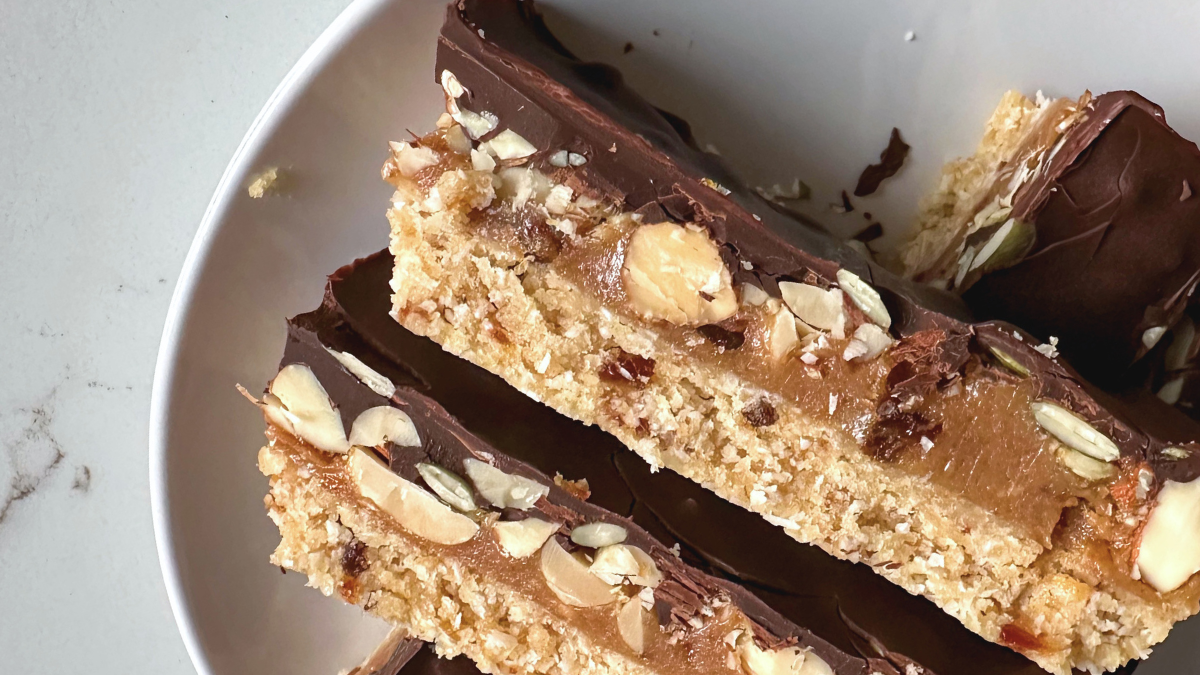
Let’s talk about the 4 layers: Smooth dark chocolate, crunchy roasted nuts and seeds, a gooey date caramel and a crumbly almond coconut base. Honestly, it’s one of those recipes that doesn’t need any additional hype.
It took me a while to get this recipe out, because I wanted to make sure I was 150% happy with the taste. My first attempt at this choc nut bar was with a base that only had almond meal and dates, and I felt like something was missing… Once I added the coconut, it was so much better.
Why I love these Healthier Chocolate Caramel Nut Bars
There are no nasties. Who knew such a treat could be made with simple and clean ingredients? No refined sugars, no processed stuff, no additives. That’s why it’s healthier. Here’s a quick breakdown of the main ingredients.
There’s no baking involved. Keep the oven off. The recipe is an easy no-bake one that uses the food processor for two of the layers (base and caramel). I’m using my trusty Breville Kitchen Wizz 9 Food Processor.

You can customise your layers. Make these bars however you like, especially the ‘crunch’ layer. I used roasted peanuts and almonds with pepita seeds, but you can use whatever nuts and seeds you like. If you want to experiment, try small pieces of dried fruit or rice/quinoa puffs.
They’re fun to make! It might sound like a lot, but it’s actually a fun treat to make. So save this recipe as your next weekend activity solo or with friends.
Recipe: Healthier Chocolate Caramel Bars (No-Bake)
Portions: 6 generous bars or 12-15 bite-sized squares
Equipment:
Food processor
Small baking tray (approx. 13 x 24cm),
Baking paper
Prep time: 45 mins + 30 mins in freezer to set
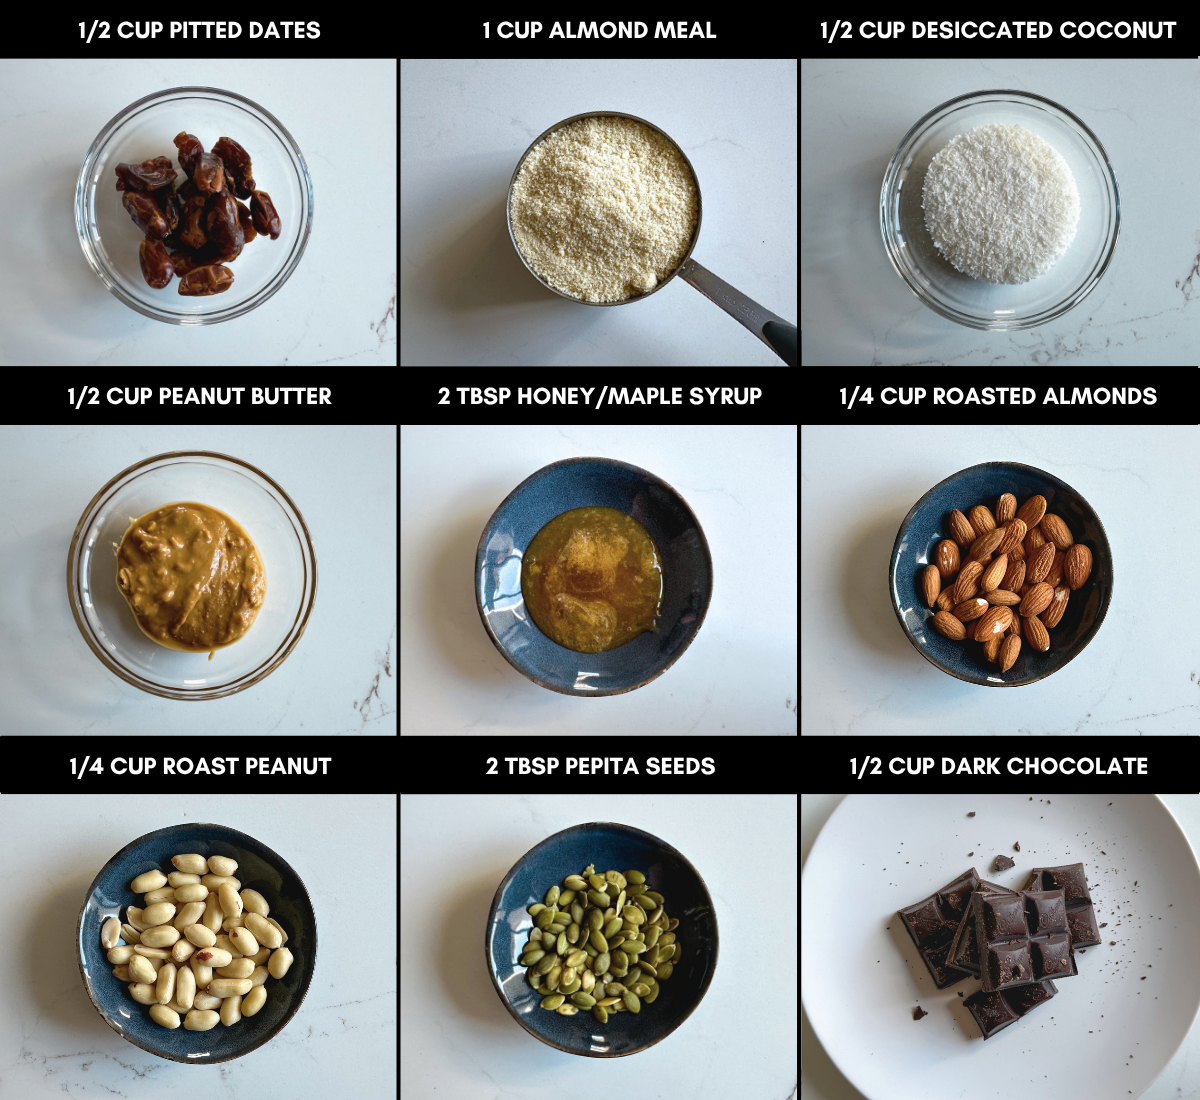
Ingredients
1 cup almond meal
1/2 cup desiccated coconut
1/2 cup pitted dates (soaked for 15 mins + keep the date water!)
1/2 cup peanut butter
2 tbsp honey or maple syrup
1/2 cup roasted nuts of choice (I used 1/4 cup roasted peanuts and 1/4 cup almonds)
2 tbsp pepita seeds
1/2 cup dark chocolate (roughly chopped)
1 tsp coconut oil
Pinch of salt
Pre-prep: Soak Dates
- Place your pitted dates into a bowl and cover with hot boiled water. Let them soak for 15 minutes to soften up nicely.
- Before draining, scoop out about 1/2 cup of the date water and set it aside in a cup.
- Drain the dates completely and separate them into two even batches (roughly 1/4 cup of dates each).
- Line your small baking tray with baking paper, leaving a bit of overhang on the sides so it’s easy to lift out later.
Layer 1: The Base
Ingredients: 1 cup almond meal, 1/2 cup desiccated coconut, 1/4 cup soaked dates, 1–2 tbsp reserved date water.
- Throw the almond meal, desiccated coconut, the first 1/4 cup of dates, and 1 tablespoon of your reserved date water into your food processor.
- Blitz until the mixture is fully combined. It should look like fine, crumbly dough, but when you pinch it between your fingers, it should easily stick together. If it doesn’t stick, add another splash of date water.
- Tip the base mixture into your lined tray and press it down as firmly as possible using a spatula or the back of a clean spoon to form a tight, even layer.
- Pop the tray straight into the freezer to firm up while you prep the next layer.
Layer 2: The Caramel
Ingredients: Remaining 1/4 cup soaked dates, 1/2 cup peanut butter, 2 tbsp honey (or maple syrup), 1–2 tbsp reserved date water, pinch of salt.
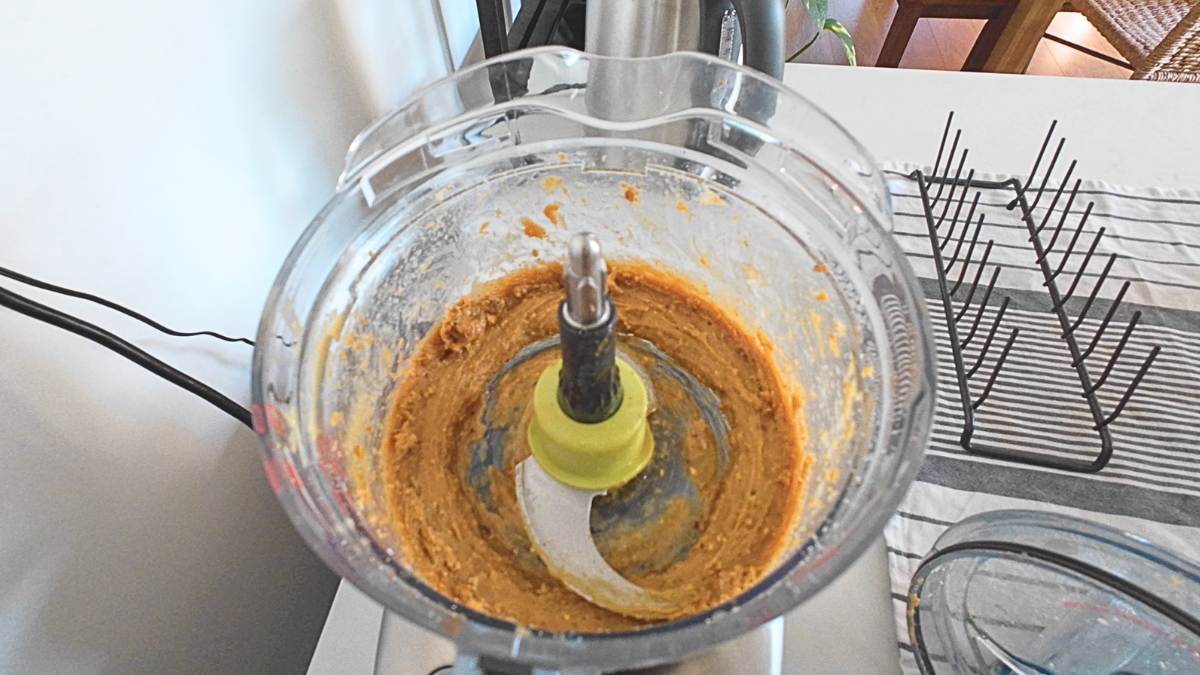
- No need to wash out the food processor bowl! Add all of your caramel ingredients straight into it.
- Blitz until the mixture transforms into a thick, glossy, and beautifully gooey paste.
- Pull your tray out of the freezer and scoop the date caramel over the base.
- Tip: The caramel can be sticky! Dip your spatula or spoon into a little bit of water first before trying to spread the caramel – it will stop the caramel from sticking to the tool and let you glide it into a perfectly smooth layer.
- Pop the tray back into the freezer.
Layer 3: The Crunch
Ingredients: 1/2 cup nuts of choice (I used peanuts and almonds), 2 tbsp pepita seeds.
- Roughly chop your chosen nuts into irregular, chunky pieces. We want plenty of texture here!
- Get your tray from the freezer and scatter the chopped nuts and pepitas evenly across the caramel.
- Gently but firmly press the nuts and seeds down into the caramel layer with your hands so they get securely embedded and won’t roll around when we pour the chocolate.
Layer 4: The Chocolate
Ingredients: 1/2 cup dark chocolate, 1 tsp coconut oil.
- Roughly chop dark chocolate into smaller pieces, then place into a microwave-safe bowl alongside the coconut oil.
- Microwave uncovered for 30 seconds, then take it out and give it a good stir.
- Microwave again uncovered for another 30 seconds and stir well.
- Repeat this in short bursts if needed (usually takes 1–2 more rounds) until the chocolate is completely melted, smooth, and glossy.
- Pour the melted chocolate directly over your nut layer.
- Tilt and rock the baking tray from side to side to ensure the chocolate flows into every corner and covers the nuts completely.
- Pop the tray back into the freezer for at least 30 minutes to let everything set.
Treat time!

After 30 minutes, the chocolate top should be solid again. Leave for 5 minutes.
- Lift the block out of the pan using the baking paper flaps.
- Using a sharp knife, slice it up into 6 thick, generous energy bars, or cut them down into 12 to 15 small bite-sized squares for the perfect grab-and-go sweet treat.
Store them in an airtight container in the freezer. Try to eat them within a week to keep them fresh.
A Quick Reality Check…
I feel like I have to explicitly include this part… I’m calling these bars ‘healthier’ because they are made with non-processed, natural ingredients. They’re obviously not going to be healthier if you decide to eat them all in one go.
Dates and honey are packed with natural sugars, so they’re still incredibly rich and energy-dense. Eating a lot will still give you a sugar crash. But, it’s your life and you have free will. Just don’t @ me. 🫠
Enjoy!
Looking for more easy, no-bake sweet treats?
Check out my other recipes below:
Choc-Peanut Butter Bliss Balls: The Perfect Healthy-ish Snack
Easy 3-Ingredient Vegan Coffee Jelly
No-Bake Black Forest Cake (Just 4 Ingredients!) – you can even swap out the cherries for another kind of fruit in this recipe.

Leave a comment